
Picture this: You just got back from an amazing vacation or wrapped up a killer photoshoot. Your iPhone is packed with great shots. You plug it into your computer, ready to offload the photos and view them on a big monitor, eagerly anticipating the process of picking the best shots.
You copy the files over, open the folder, and... you're greeted by dozens of generic blue file icons instead of photos. Windows simply has no clue what these files are.
I've been there myself more times than I can count. I remember a couple of years ago, I urgently needed to curate photos for a client's portfolio. Windows stubbornly refused to open them unless I bought an extension for $0.99. It's not about the money (though the fact that a basic codec is behind a paywall is annoying); it's about the wasted time and the extra hassle.
If you're looking for a way to open HEIC on Windows 11 or 10 without installing shady software or paying Microsoft, you're in the right place. Let's figure out how to solve this quickly and safely.
What is HEIC and why is Windows "blind" to it?
Before we fix it, let's understand what broke. HEIC (High Efficiency Image Container) is the format Apple started using as the standard a few years ago. Honestly, it's pretty cool: files take up half the space of a JPG with the same image quality.
But here's the problem: Microsoft and Apple exist in two different universes. Windows doesn't always have the license for this codec "out of the box."
When you try to view iPhone photos on PC, the system basically says, "I don't know what to do with this, go download a codec." And often, that codec is either paid or glitchy. But you don't have to play by Microsoft's rules. The simplest and most reliable solution isn't trying to teach Windows how to read HEIC, but rather quickly turning that HEIC into a good old-fashioned JPG.
Step-by-Step Solution: How to Open and Convert HEIC
We aren't going to install heavy software like Photoshop or weird utilities filled with ads. We're going to use a browser-based tool that works locally.
I recommend heictojpg.website. I'll explain exactly why I prefer this one in a minute, but first—the instructions.
Step 1: Prep your files
Gather all your HEIC files into one folder on your computer. It's much easier than hunting for them through different directories on your phone.
Step 2: Open the converter
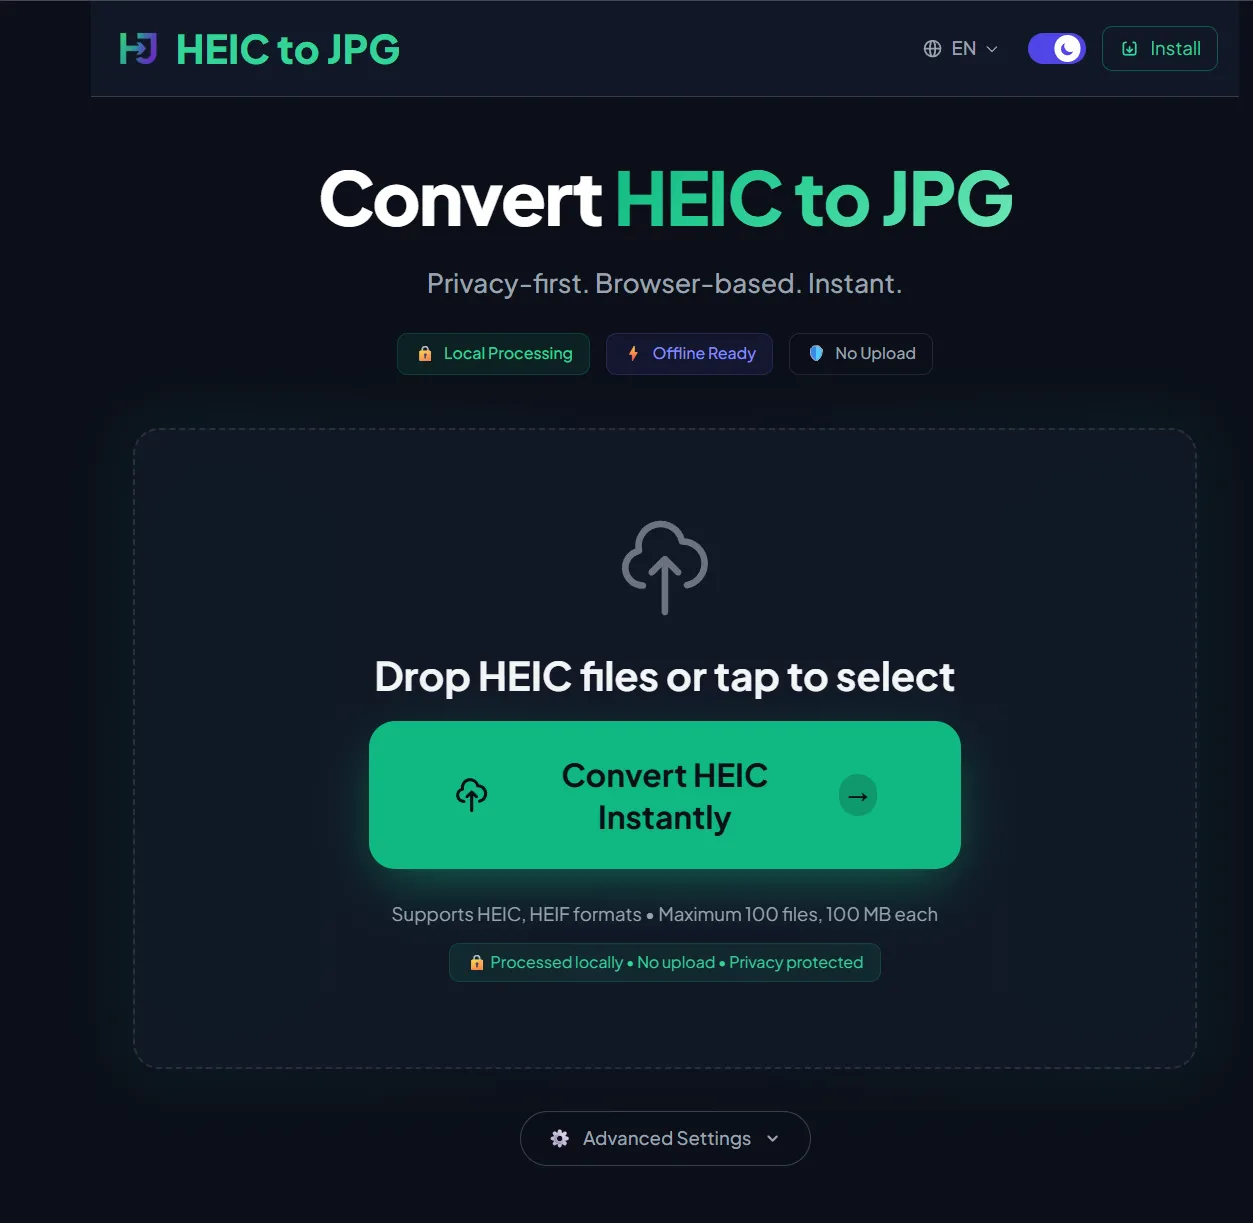
Head over to heictojpg.website. The interface is extremely minimalist—it's impossible to get lost. No banners taking up half the screen or pop-ups begging you to subscribe to a newsletter.
Step 3: Upload your photos
You can click the button to select files or simply drag-and-drop your photos right into the browser window. The service supports batch uploading. If you have 50 photos—toss all 50 in at once.
Step 4: The conversion process
As soon as you drop the files, the process starts automatically. You'll see progress bars for each file.
Important note: You'll notice this happens very fast. Suspiciously fast. That's because the files aren't actually flying off to some server (more on that below).
Step 5: Download
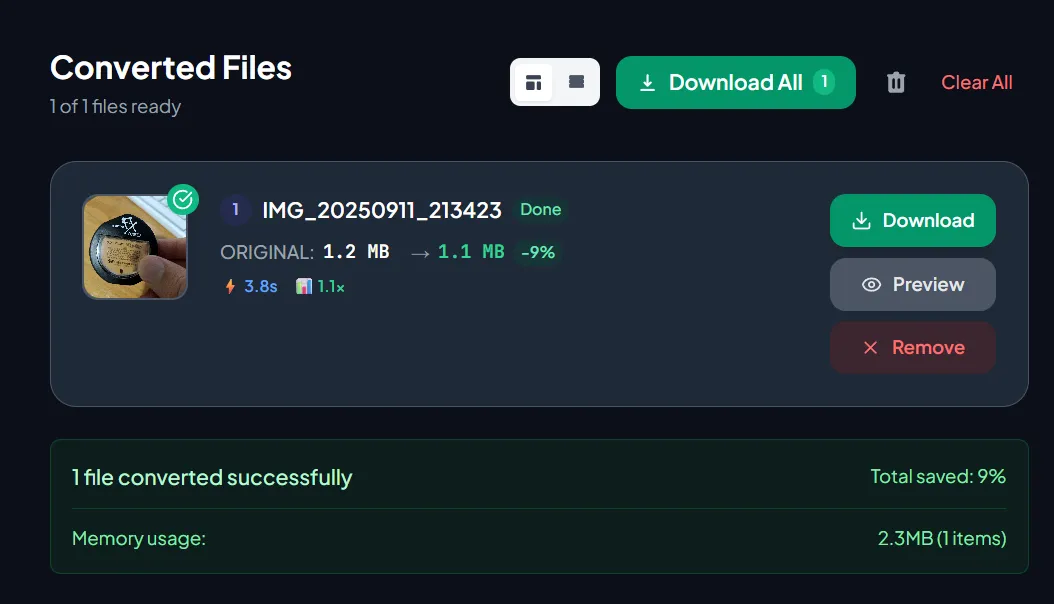
Once the conversion is done, you can download the photos individually or hit the "Download All" button to grab a ZIP archive with all your shots in JPG format.

Now they will open on anything—from a fancy PC to a literal toaster, let alone Windows 10 or 11.
Why is heictojpg.website better than programs and plugins?
To be honest, I'm usually skeptical of online converters. Typically, they work like this: you upload your personal photos to someone else's server, they get processed there, and then you download them back.
This is bad for two reasons:
- Privacy. Who knows what happens to your photos on that server? They could remain in a cache somewhere.
- Speed. Uploading 100 high-res photos to the internet and then downloading them back takes forever unless you have a gigabit connection.
This is where heictojpg.website changes the game. It has a killer feature: it works offline.
How is that possible?
Technically, it's not an "online" converter in the traditional sense. The site loads the conversion script directly into your browser. The photo processing happens right on your CPU, not on a remote server.
The pros of this method:
- Security. Your photos never leave your computer. You could literally disconnect from the internet after the page loads, and it would still keep converting.
- Speed. There is no "upload to server" stage. There is only "read file → convert → save." It saves a ton of time.
- Free. No hidden limits like "only 5 photos a day" or watermarks.
Unlike installing plugins from the Microsoft Store, which often break after Windows updates, a JPG file is eternal. It will open in 10 years, on Linux, or on an old TV.
Why not just mess with Windows system settings?
You might ask, "Can't I just configure Windows to make it work?" You can. But it's a total headache.
In Windows 10 and 11, Microsoft split HEIC support into two extensions:
- HEIF Image Extensions (usually free).
- HEVC Video Extensions (often paid, costs $0.99).
The trick is that to view photos, you often need both. Even if you find a free way to install the codecs (via command line or third-party repositories), the native "Photos" app in Windows tends to run slowly with them. When flipping through heavy HEIC shots, you'll notice lag—the computer has to decode the complex format "on the fly" every time.
Converting to JPG solves the performance issue once and for all.

FAQ: Frequently Asked Questions
1. Is quality lost when converting HEIC to JPG?
Technically, yes, because JPG is a lossy compression format. But in practice, the difference is invisible to the naked eye. heictojpg.website is tuned for an optimal balance: it keeps the visual quality of the original while making the file compatible. Unless you plan on printing a photo on a billboard the size of a house, you won't notice a difference.
2. Is EXIF data (date taken, location) preserved?
This is a good question. With simple conversion via this site, basic metadata is usually preserved, but it depends on the specific version of the browser script. If preserving every single metadata field is critical for professional work, it's best to double-check the first converted file in the properties. But for a home archive? It's more than enough.
3. Can I open HEIC on Windows without converting at all?
Yes, if you install a third-party image viewer like IrfanView or XnView. But that requires installing extra software. If you just need to dump photos from your iPhone once and forget about it, conversion is the cleaner path. You don't clutter your system with programs you'll only use once a year.
Wrapping Up
Don't overcomplicate your life by hunting for codecs. If Windows refuses to play nice with your iPhone, just use a local converter. It's faster, safer, and most importantly, free.
What to do right now? If you have a folder full of "blue icons" that has been annoying you for a while, go to heictojpg.website and just drag one file there to test it. See for yourself how much easier this is than digging through Windows settings.